Pool leaks are more than just a nuisance—they can result in higher water bills, chemical imbalances, and even structural damage. If you suspect your pool may be leaking, performing a bucket test is an easy and effective way to find out. This simple DIY method allows homeowners to compare the natural water evaporation rate with the actual water loss in their pool. In this article, we’ll guide you through the process and explain why catching leaks early can save you time, money, and stress..

At Master Touch Outdoor Living, we’re here to help you maintain your pool year-round. Whether you need leak detection services or full pool remodeling, we’ve got you covered.
Why Leaks Are a Problem
Unchecked pool leaks can lead to several issues, including:
- Water Waste: Constant refilling increases water usage, leading to higher bills.
- Chemical Imbalance: A leaking pool loses both water and the chemicals used for treatment, making it harder to maintain proper water balance.
- Structural Damage: Over time, leaking water can erode the pool structure or surrounding areas, potentially causing cracks or other serious damage.
- Increased Energy Costs: If your pool’s heating system runs while leaking water, it wastes both energy and money.
The sooner a leak is identified, the easier and cheaper it will be to fix. Let’s look at how to perform a bucket test to spot leaks before they become a larger problem.
How to Perform a Bucket Test for Pool Leaks
The bucket test is an easy way to determine whether water loss is due to evaporation or a leak. Here’s how to do it:
Materials You’ll Need:
- A standard bucket
- Waterproof tape or a marker
- Pool water
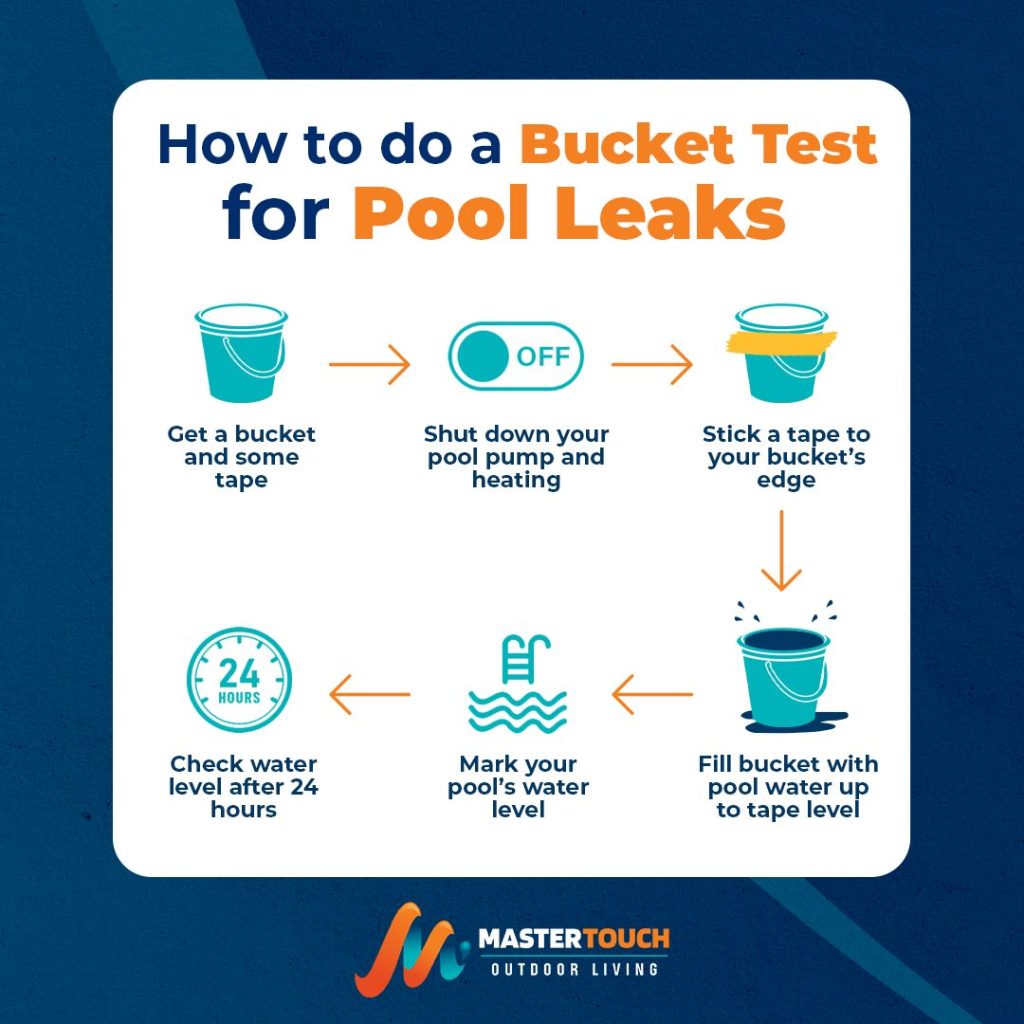
Step-by-Step Instructions
- Turn Off the Pool Equipment:
Start by shutting down your pool pump, heater, and any other pool equipment. This ensures the water level will remain stable for the test duration. - Fill the Bucket with Pool Water:
Place the bucket on the pool steps or a secure edge of the pool. Fill the bucket with pool water until the water level matches the level of the pool’s water. - Mark Water Levels:
Use waterproof tape or a marker to mark two levels: one on the inside of the bucket (the pool water level inside the bucket) and one on the outside (the pool’s water level). This step is critical for accurate results. - Let the Test Run for 24 Hours:
Leave the bucket and pool undisturbed for 24 hours. Avoid swimming or running the pool pump during this time. - Check Water Levels:
After 24 hours, compare the water level inside the bucket to the water level in the pool.- If both levels dropped equally, the water loss is likely due to evaporation.
- If the pool’s water level dropped more, it indicates a leak.
What to Do If You Identify a Leak
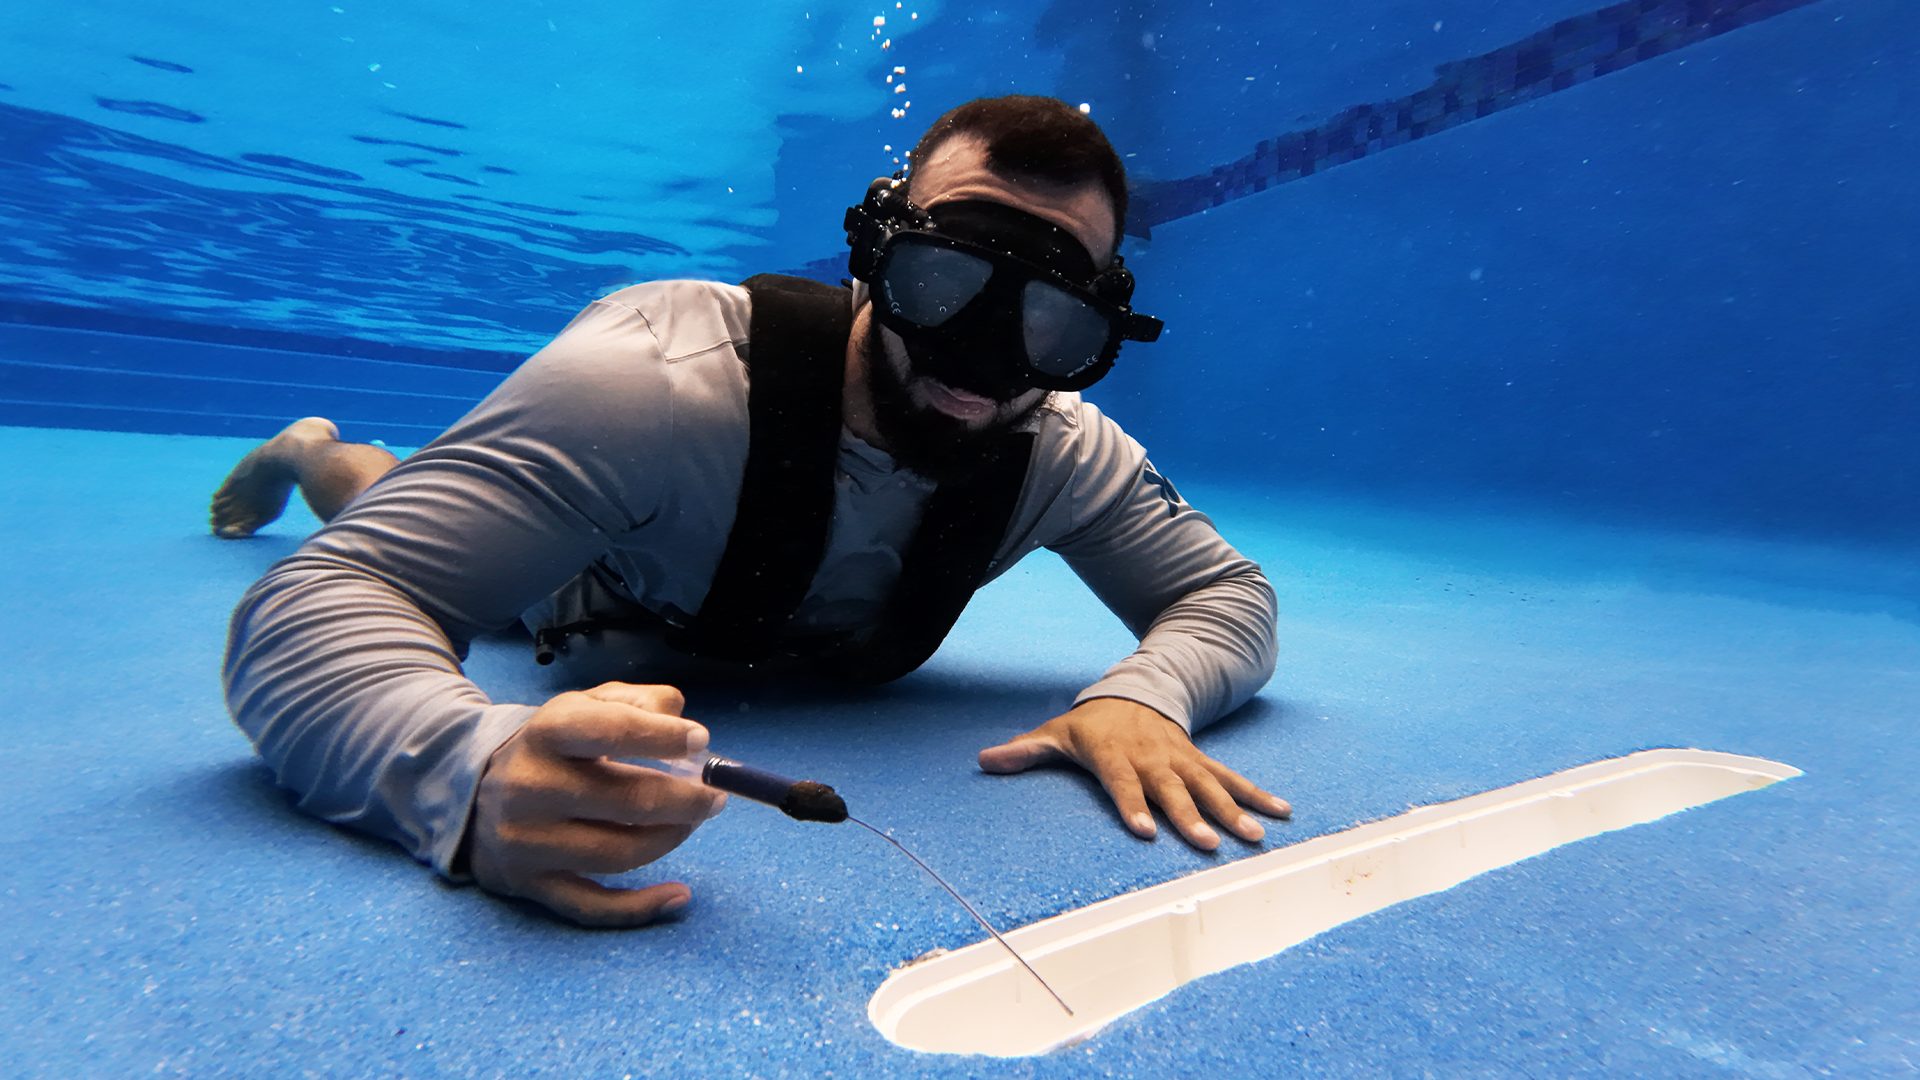
If your bucket test confirms a leak, it’s time to act quickly. Small leaks can worsen over time, causing damage to pool equipment or even underground plumbing. Master Touch Outdoor Living offers professional pool leak detection services to pinpoint the source of the problem and recommend effective repairs. Whether it’s a plumbing issue, structural crack, or faulty equipment, we’re here to help restore your pool to perfect condition.